

 DayZ
DayZHow to Add a Custom Map to a DayZ Server (Deer Isle, Namalsk)
Add Deer Isle, Namalsk or another community map to a DayZ server: load the map mod, upload its mission folder to mpmissions and set the template.
Updated Oct 3, 2026 · 6 min read
On this page
- What you are working with
- Popular community maps and what they need
- Before you start
- Step 1: Add the map mod
- Step 2: Download the mission folder
- Step 3: Upload it to mpmissions
- Step 4: Point serverDZ.cfg at the mission
- Step 5: Start and join
- The template must match the folder, exactly
- What happens to player progress
- Common problems
- Running a community map on GamezServers
- FAQ
To add a custom map to a DayZ server, you need two separate things: the map mod from the Steam Workshop (for example @DeerIsle, Workshop ID 1602372402), loaded with -mod= and its .bikey in keys, and the map's mission folder (for example empty.deerisle) uploaded into mpmissions. Then set template="empty.deerisle"; in the class Missions block of serverDZ.cfg so it matches the folder name exactly, and restart. Players join through the DayZ Launcher, which downloads the map for them.
What you are working with
| Piece | What it is | Where it comes from |
|---|---|---|
Map mod (@DeerIsle, @Namalsk Island) |
The terrain, buildings and textures | Steam Workshop |
Extra mods some maps need (@Namalsk Survival) |
Gameplay systems, items and events for that map | Steam Workshop |
.bikey file |
The key that lets players with the mod pass signature checks | The mod's keys folder |
Mission folder (empty.deerisle, regular.namalsk) |
Loot economy, spawns, init.c, cfggameplay.json and the save |
The map author's GitHub or the mod's Extras folder |
template= in serverDZ.cfg |
Tells the server which mission folder to load | You set it |
The part most people miss is that the Workshop mod does not contain a working mission folder. Without the mission, the server either fails to start or keeps loading Chernarus, even though the map mod is installed.
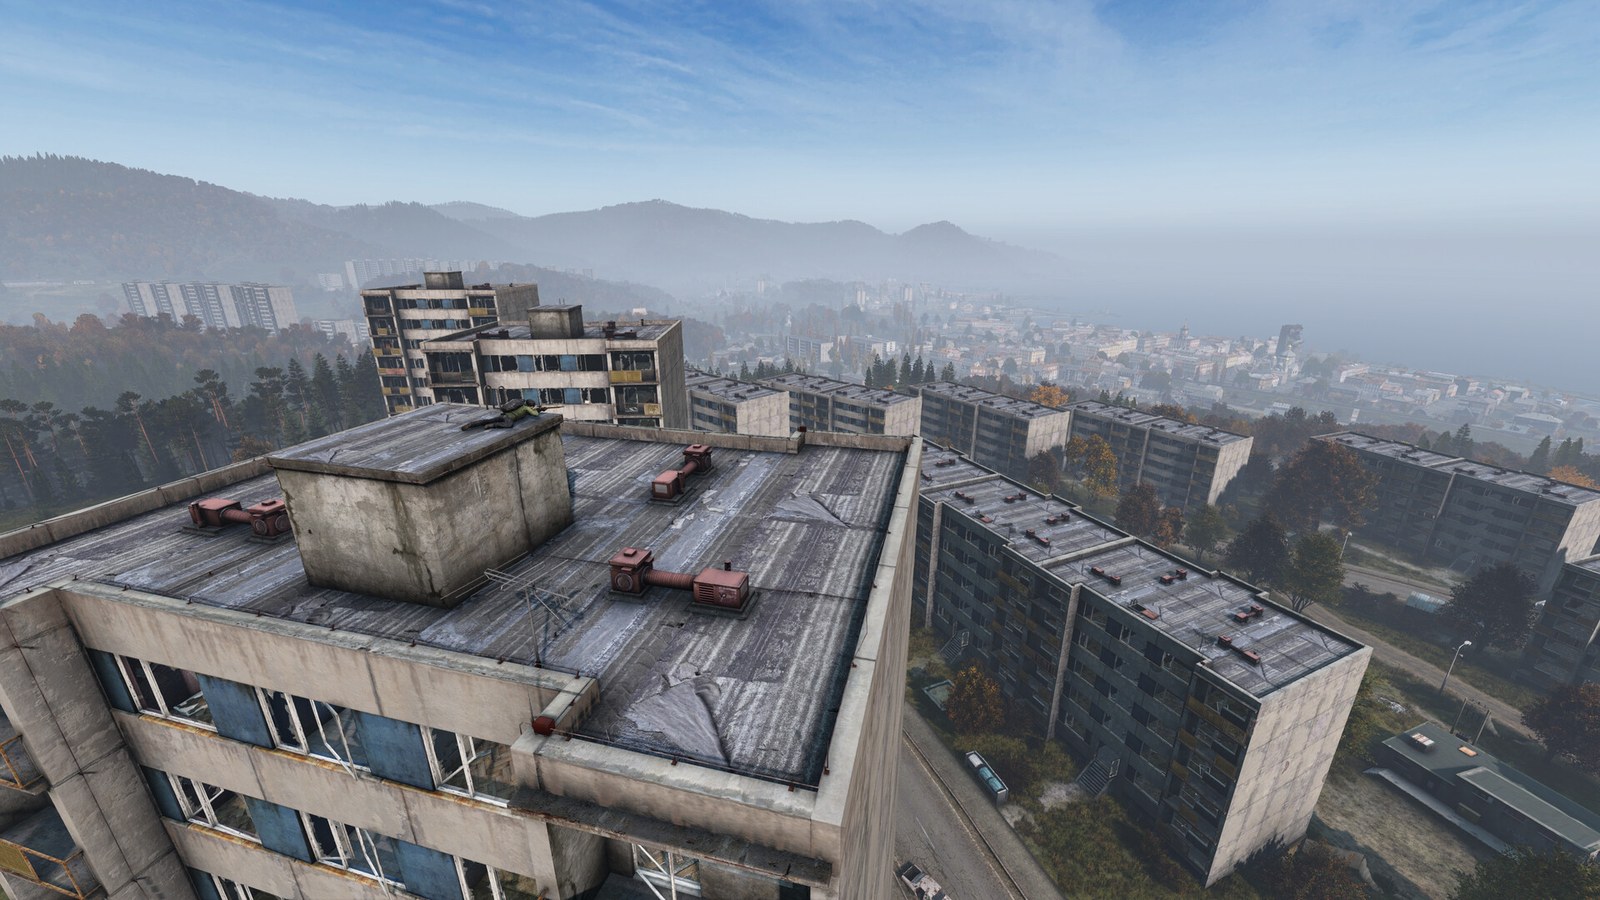
Popular community maps and what they need
| Map | Workshop mods | Mission folder | Mission source |
|---|---|---|---|
| Deer Isle | DeerIsle 1602372402 |
empty.deerisle |
johnmclane666's Deerisle-Stable repository |
| Namalsk | Namalsk Island 2289456201 and Namalsk Survival 2289461232 |
regular.namalsk or hardcore.namalsk |
SumrakDZN's Namalsk-Server repository, or Extras in the Survival mod |
Deer Isle is big: the Workshop download is around 11 GB, so the first start after adding it takes a while and every player downloads the same amount. Namalsk comes in a regular mission (vehicles, full base building, more loot) and a hardcore one (no vehicles, stashes and tents only, scarce weapons). The Namalsk mods also forbid monetizing a server that runs them, including selling priority queue.
Before you start
- Back up the server. Switching maps does not delete your Chernarus world, but you will be editing
serverDZ.cfgand adding folders. - Match the versions. Use the mission files that match the map mod version on the Workshop. Deer Isle has separate stable and experimental mission repositories, and stable missions go with the stable Workshop mod.
- Budget memory. Large community maps with their own loot economy use more RAM than vanilla Chernarus. 12 GB is a sensible floor for a modded map with a few players.
Step 1: Add the map mod
Download the map mod to the server like any other Workshop mod and load it on the launch line:
"-mod=@DeerIsle"
If the map needs a second mod, list both, separated by a semicolon, with the base map first:
"-mod=@Namalsk Island;@Namalsk Survival"
Copy every .bikey from each mod's keys folder (Namalsk uses sumrak.bikey) into the server's top level keys folder. Our DayZ mod install guide covers SteamCMD downloads, quoting and load order in detail.
Step 2: Download the mission folder
- Open the map's mission repository on GitHub, click Code, then Download ZIP.
- Unzip it on your PC and find the mission folder. For Deer Isle it is
empty.deerisleinside the newest version folder. For Namalsk it isregular.namalskorhardcore.namalskunderMission Files. - Check that the folder contains
init.c,cfgeconomycore.xmland adbfolder directly inside it, not in another subfolder.
Step 3: Upload it to mpmissions
Stop the server, then upload the whole mission folder into mpmissions, next to dayzOffline.chernarusplus:
mpmissions/
  dayzOffline.chernarusplus/
  empty.deerisle/
Mission folders hold hundreds of small files, so zip the folder, upload the zip and extract it on the server, or use SFTP rather than a browser upload.
Step 4: Point serverDZ.cfg at the mission
Open serverDZ.cfg and find the class Missions block near the bottom. Change the template to the mission folder name:
class Missions
{
    class DayZ
    {
        template="empty.deerisle";
    };
};
Some maps ship their own recommended serverDZ.cfg values. Namalsk's server config folder, for example, sets lighting with lightingConfig. Copy the values they recommend into your existing config rather than replacing the whole file, so your hostname and passwords stay.
Step 5: Start and join
Start the server and watch the log. When it has loaded, open the DayZ Launcher, find the server under Servers (or use Direct Connect), and let the launcher download the map before pressing Play. Join through the launcher, not the in game browser, which does not fetch mods.
The template must match the folder, exactly
This is the step that breaks most custom map installs. The value after template= is the mission folder name, not the map's name or the mod's name. template="deerisle"; or template="DeerIsle"; does not work if the folder is called empty.deerisle. The server is on Linux with us, so case matters too. If you rename the folder, rename the template to match.
The folder name also has to end in the map's world name (.deerisle, .namalsk). That suffix is how DayZ knows which terrain the mission belongs to, so a mission for one map cannot be renamed to run on another.
What happens to player progress
DayZ stores characters and bases inside the mission folder, in storage_1. A new map means a new mission folder and a fresh storage_1, so everyone starts as a fresh spawn on the new map. Your old Chernarus world stays untouched in dayzOffline.chernarusplus and comes back if you set the template back.
Common problems
- Server still loads Chernarus: the template still says
dayzOffline.chernarusplus, or it does not match the mission folder name exactly. - Server closes during start: the map mod is missing from
-mod=, a required second mod (like Namalsk Survival) is missing, or the mission is for a different map version. - Kicked for signature check: the map's
.bikeyis not in the server'skeysfolder. See the DayZ signature kick fix. - No loot on the new map: the mission folder is nested one level too deep, so the server cannot find
db/types.xml, or you copied Chernarus loot files over the map's own. - Players stuck downloading: large maps like Deer Isle take a long first download. Let the launcher finish.
Running a community map on GamezServers
On a GamezServers DayZ server, add the map's Workshop IDs in Workshop mods (like @1602372402;) and we download the mod, keep it updated and copy its key. Upload the mission folder as a zip in the Files tab and extract it there, or use the SFTP login in Settings, then type the folder name in the Map setting and restart. Press Backup first. For mods that suit a custom map, see the best DayZ server mods.
FAQ
Do players need to download the custom map?
Yes, but the DayZ Launcher does it for them when they join the server. They do not need to subscribe on the Workshop first.
Where do I get the mission files for a DayZ community map?
From the map author, usually a GitHub repository linked on the Workshop page, or an Extras folder inside the mod itself.
Will changing the map wipe my server?
It starts a fresh world on the new map, because saves live in each mission folder's storage_1. The old map's world stays in its own folder.
Can I run Deer Isle on a console DayZ server?
No. Community maps are Workshop mods, and Workshop mods only work on PC servers.
Skip the setup. Your own DayZ server.
Then $19.99/mo. Just trying it? $5.00 for 3 days